Sending email from within WordPress
In my recent this-thing-is-not-working spree, I’ve fortunately found WP Mail SMTP. The thing that made me happy the most is that it works.
![]()
Let’s say that last time I was in charge of managing a self-hosted WordPress installation you didn’t have to bother with email being authenticated or digitally signed or whatever.
The plugin just allows you to configure one in a range of available mail delivery options for you to send comments notifications (or anything) from within WordPress.
The one I’ve chosen is to use GMail API and through their detailed directions, I managed to create OAUTH authentication credentials for my notification’s sender account. Some concepts and steps are slightly different now than those in their documentation, but fair enough. Steps are something like this:</p>
-
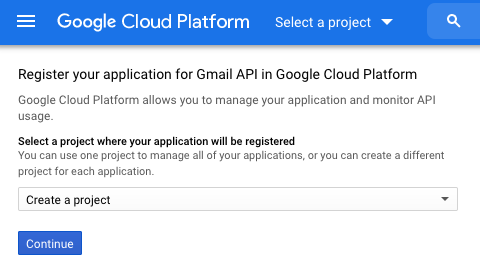
Go to GMail’s Application Registration page and log in with email account you wanted to create credentials for:
-
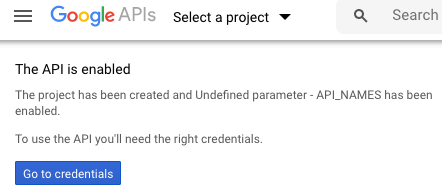
Once you click the button, you’ll see a confirmation message:
-
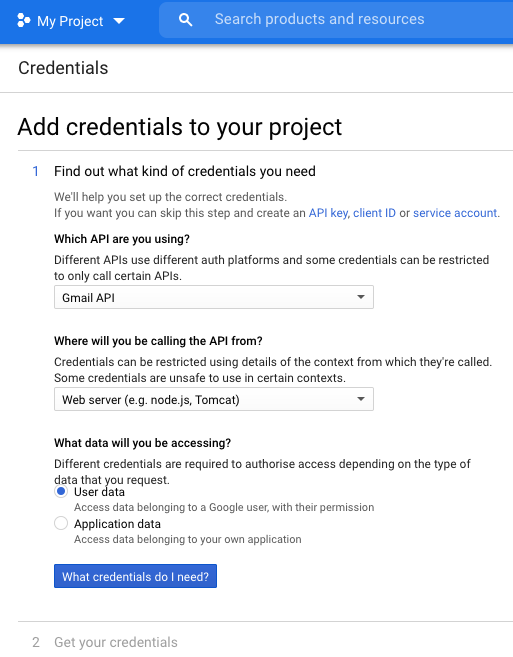
On the next page, you’ll have to answer a couple questions about the kind of credentials you need. Click the choices below and then hit the button:
-
You’ll be presented with this screen:
-
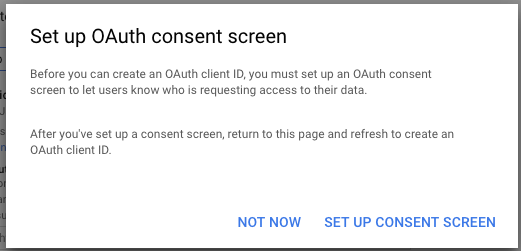
Now you’ll configure a consent screen that is usually shown to people, but not in this application. However, you’ll have to click on “Set up consent screen” and then will get this screen in a separate tab or window:
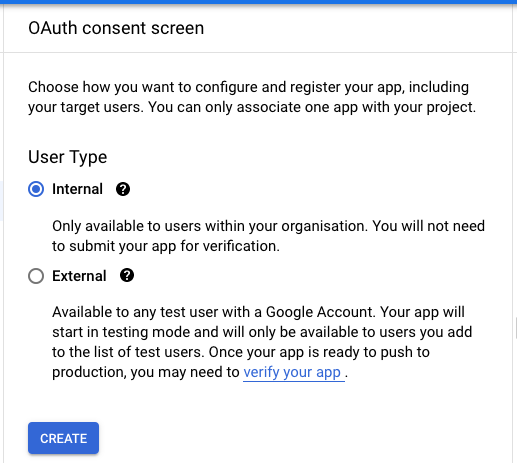
-
Select “Internal” and click on “Create”. You’ll get to the following screen, where you have to select the email account for this consent screen and other details. Omit the logo. When done, click “Save and continue” and get rid of this tab:
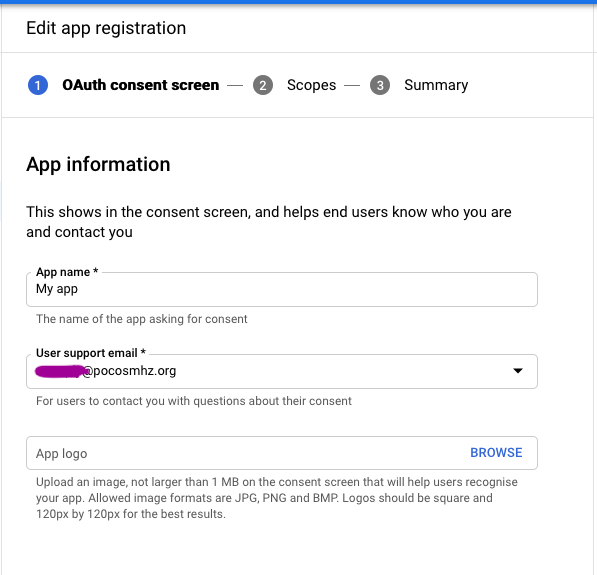
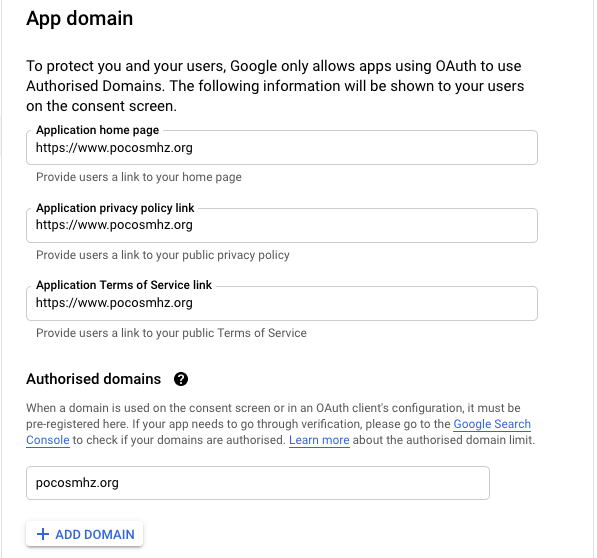

-
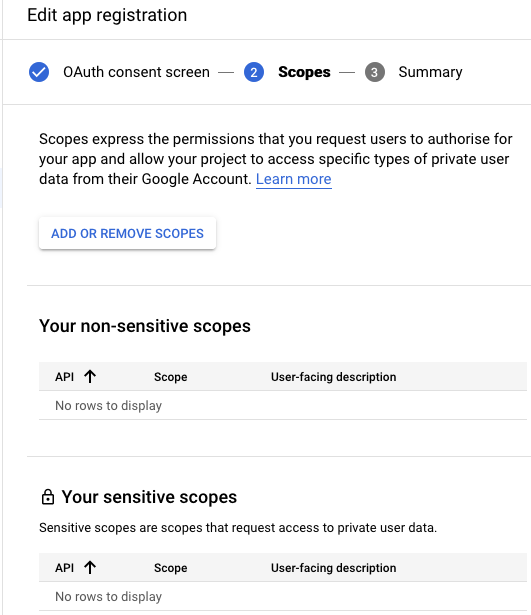
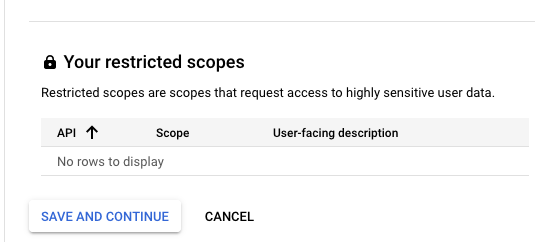
Once you click on “Save and continue”, you will reach the “Configure scopes” dialog. Please leave it as is and “Save and continue” will take you to the end of this part:
-
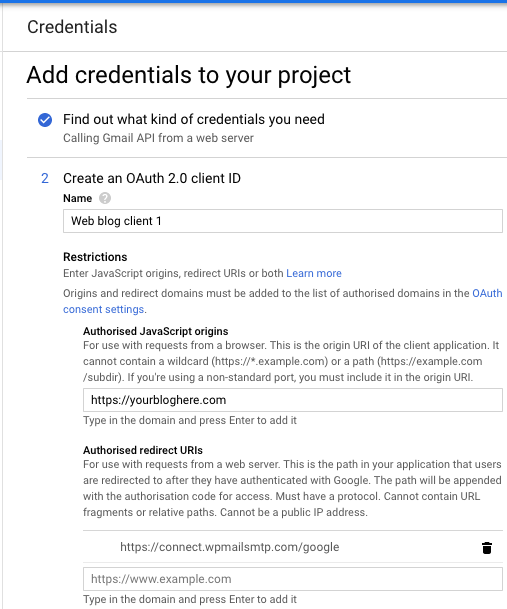
Now you will be setting Up Your OAuth Client ID:
-
Click “Create OAuth client ID” after filling in the three fields in the dialog. You might be required to click “Refresh” button after some entries.
-
Then, you will be asked to either “Download” the credentials or “I’ll do this later”. Click the latter.
-
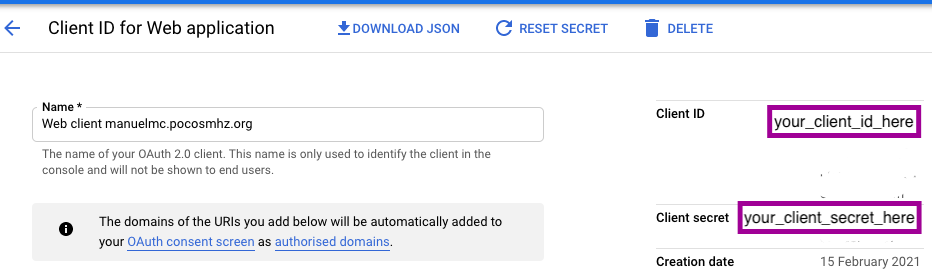
Select your recently created OAuth2 credentials here:

Click the “pencil icon” and you’ll be able to jot down the Client ID and Client Secret values you’ll need to configure and test the plugin:
-
You should be able to test the plugin by sending a test email from the WP Mail SMTP configuration settings window.