Proxmox home cluster (I)
For some time I’ve been wondering the best way of having a steady solution to use as a home lab. That involves a whole lot of factors to think about. Many of them are cost-related.
Nowadays you can think about having a small cluster in your cloud provider of choice. Even if you automate the creation and destroy of such lab through IaC, you’ll incur in costs that might end being a real burden.
What about a dedicated server? Even the cheapest ones are either not big enough or you have to pay extra to have proper storage.
And what about using real hardware and hosting it at home? Well, I checked some second-hand carrier-grade hardware providers and they offer you really affordable solutions. See Give1life, Jet Computer or Serverando, but there are many others.
As familiar as I am with the hosting and datacenter world, there are three limiting factors in this solution: noise, heat and electric power. Yes, they’re affordable and reliable. But you’ll need a room for that purpose. As I don’t plan on having one, let’s check another solution that came to me.
Configuration selection
Compute platform
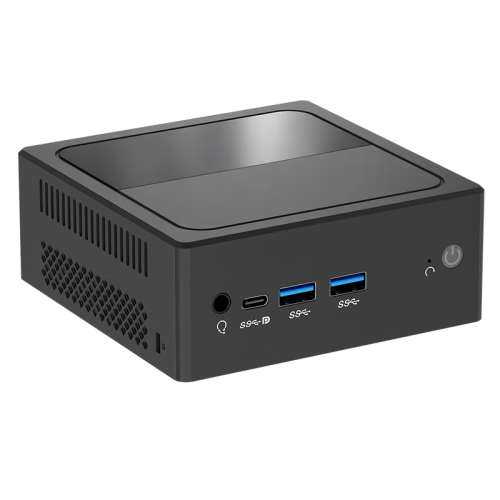
There is a new trend of small factor PCs, called mini PC that are very handy when you lack proper desktop space. Not only they’re small, but also very energy efficient.
For a small desktop PC to browse the web and do basic daily chores, they were fine. However, right now, you can find a very wide variety of options. Some of them are not so basic.
Some friends talked me into checking the Intel N100 CPU from Intel’s 12th gen Alder Lake architecture. Indeed, very power savvy (between 6 and 12 watt), but also very capable (4 CPU cores up to 3.4 GHz).
Theoretically they’re able to handle up to 16 GBytes of RAM. That is more than enough for a low cost PC. You can even use it as a workstation, if you stretch the concept a bit.
They made me be interested and I already put my eyes on the Texhoo QN10 mini PC. Please do not be mislead by the QN10 SE model.
As I was about to settle with the idea of a 16 GB RAM configuration, with dual 2.5 Gbit ethernet interface, multiple USB ports, WIFI6 etcetera, I bumped into this blog post stating that there was a stable 32 GBytes RAM configuration.
For every cluster node, I bought one Crucial RAM DDR5 32GB 5600MHz SODIMM CL46 - CT32G56C46S5 module, as suggested by Stepyon in the blog, and one Kingston NV3 NVMe PCIe 4.0 SSD Internal 1TB M.2 2280-SNV3S/1000G , which have a reasonable price-quality ratio.
Remember that you have to explicitly enable the virtualization options in your BIOS. I also recommend to set up power management so the mini-pc returns to previous state after a power outage.
Networking
Let’s select some interconnect hardware on a budget. I opted for a non-managed solution that has passive heat sink: Tenda TEM2010X 8 x 2.5Gbit port switch.
Proxmox installation
Software installation
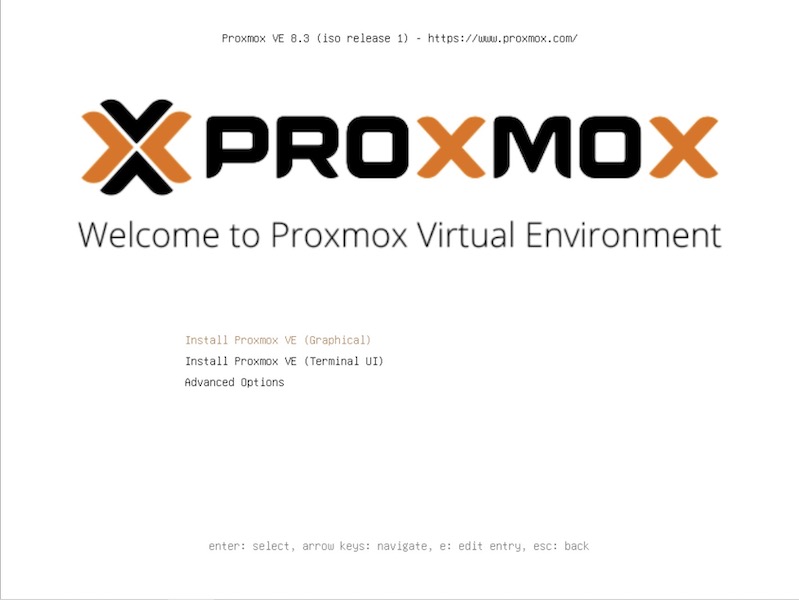
In order to install Proxmox we selected version 8.3.1 ISO and downloaded it from their downloads page.
It is very straight-forward, but I’ll go quickly through the steps for a standalone installation here:
- First, you can settle with the standard installation option:
- Then you’re asked to accept the license:

- Now you are presented with the Proxmox HD selection dialog:
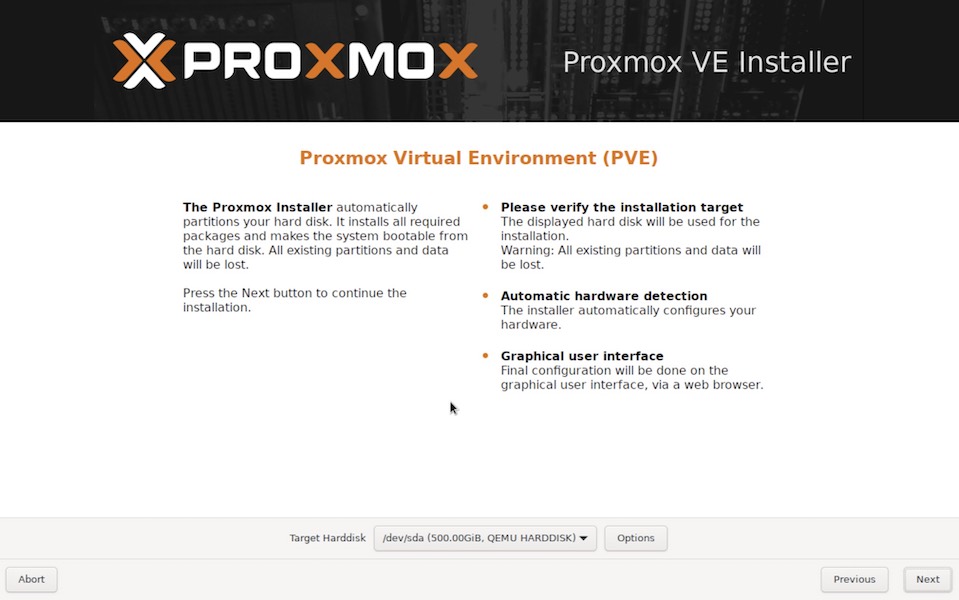
- Here you have two options:
- If you either don’t plan on creating a Ceph cluster, or you plan to do it with a secondary disk, just click on OK and leave the default options (ext4 FS).
- If you want to use part of the only disk we have for Ceph, please click on
Optionsand reduce the size as stated below: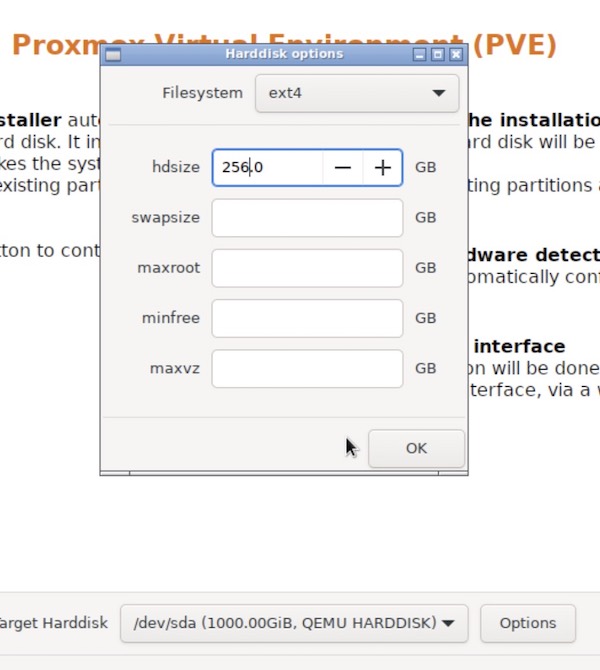
Now accept and continue with the next step.
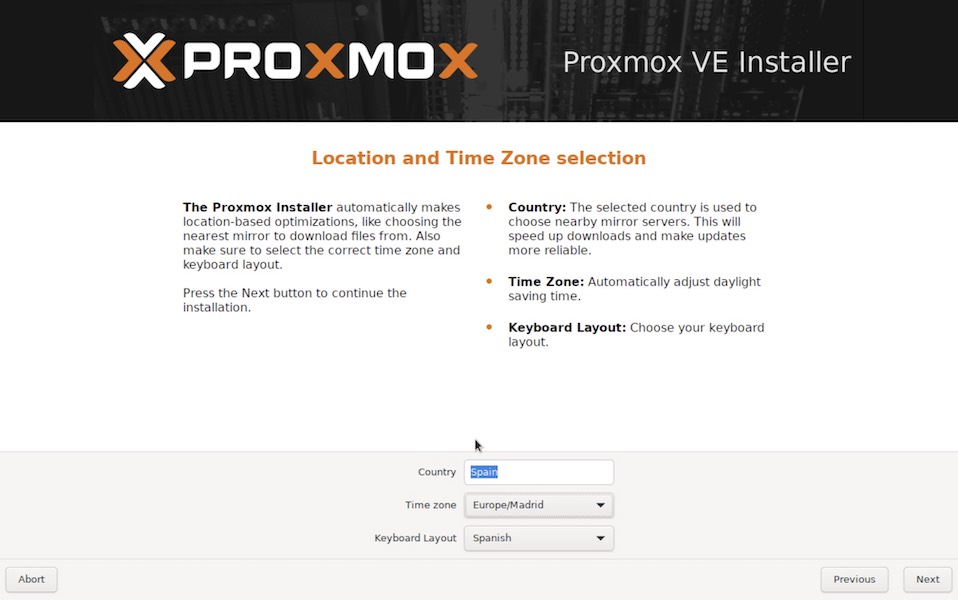
- In this step you adjust your locale options:
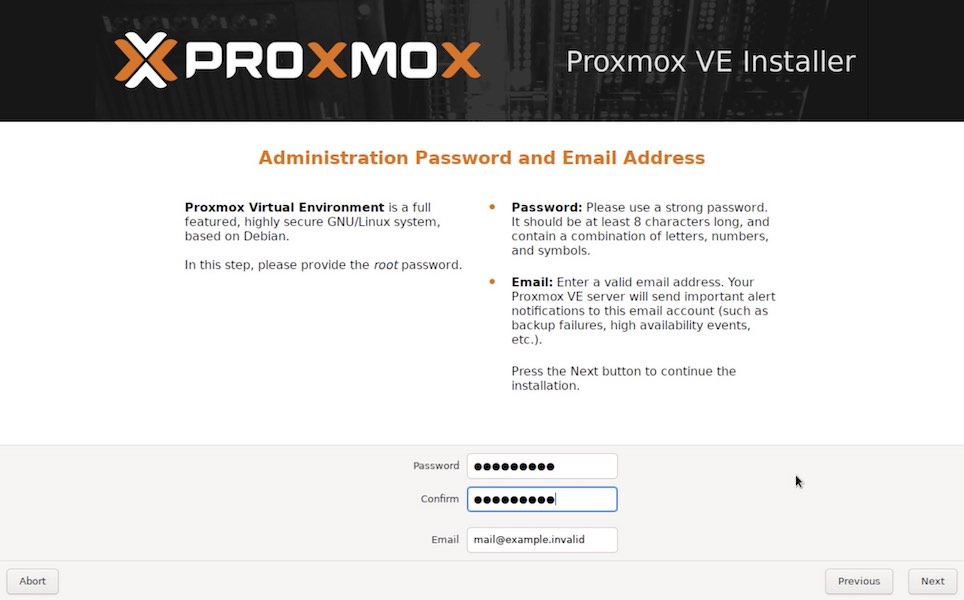
- Here you’ll set up a password for the root user, or administrator user of the node, and a email address for notifications:
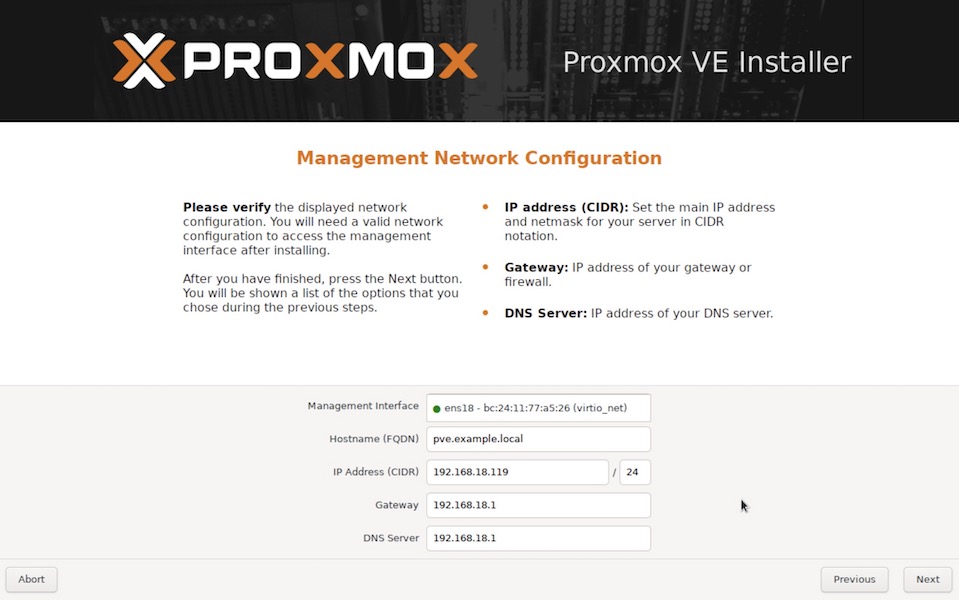
- Here we’ll set up an IP address for the management interface. We can only setup one single network interface here, but this could be changed later:
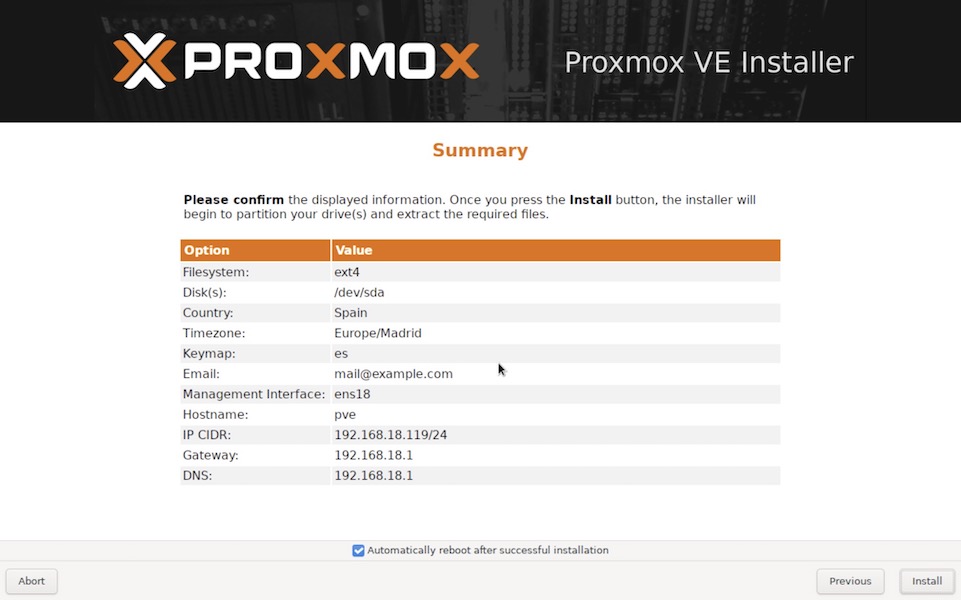
- Before we continue, we are shown the summary of our configuration. If you agree, go ahead:
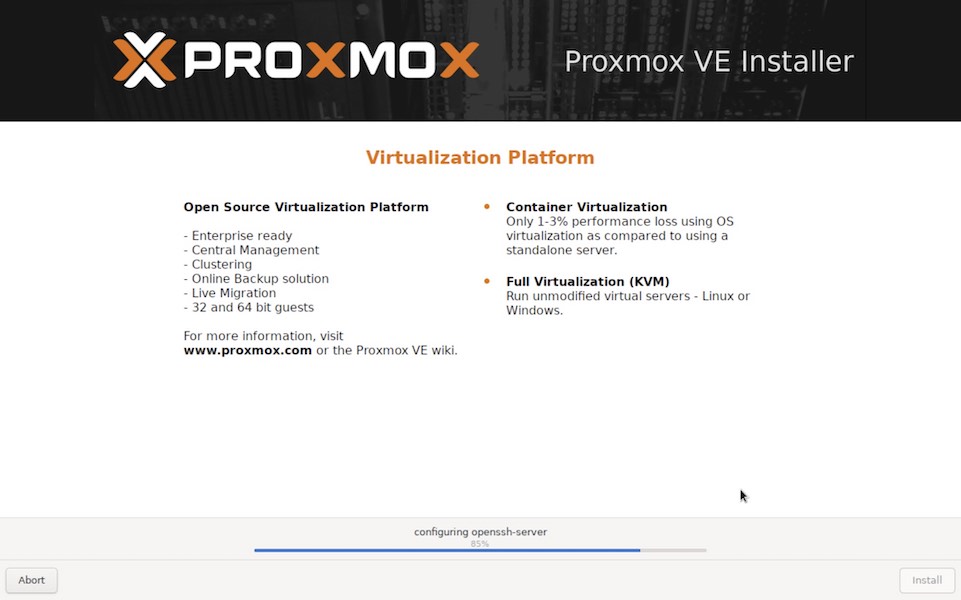
- During the next two or three minutes, you’ll be amused with some advertisement while the packages are installed:
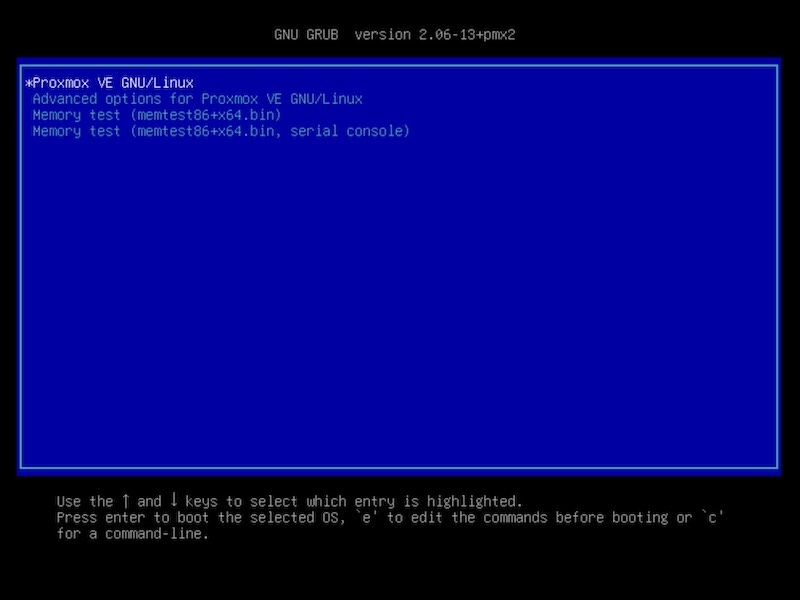
- If you selected the option for automatic reboot after installation, you will see this screen after reboot:
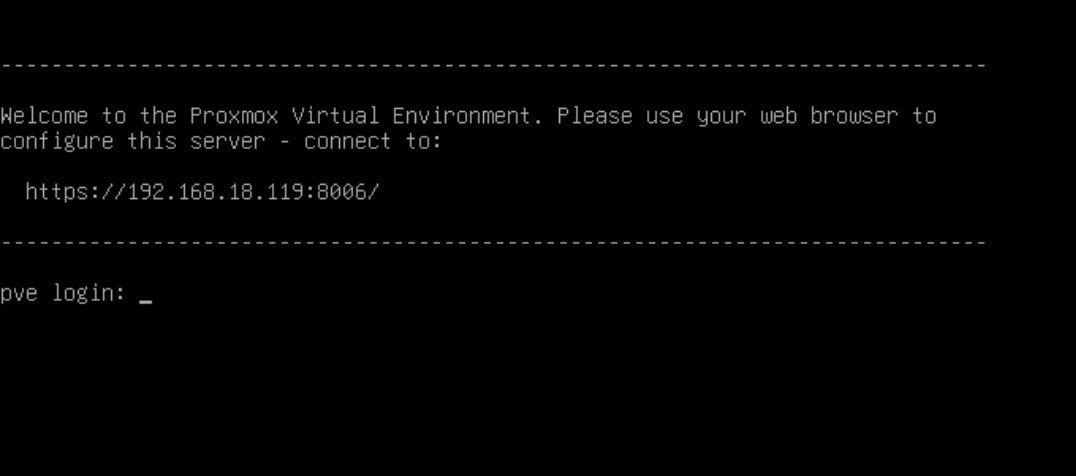
- And finally, after a few seconds, you have the login screen:
Basic setup of a node
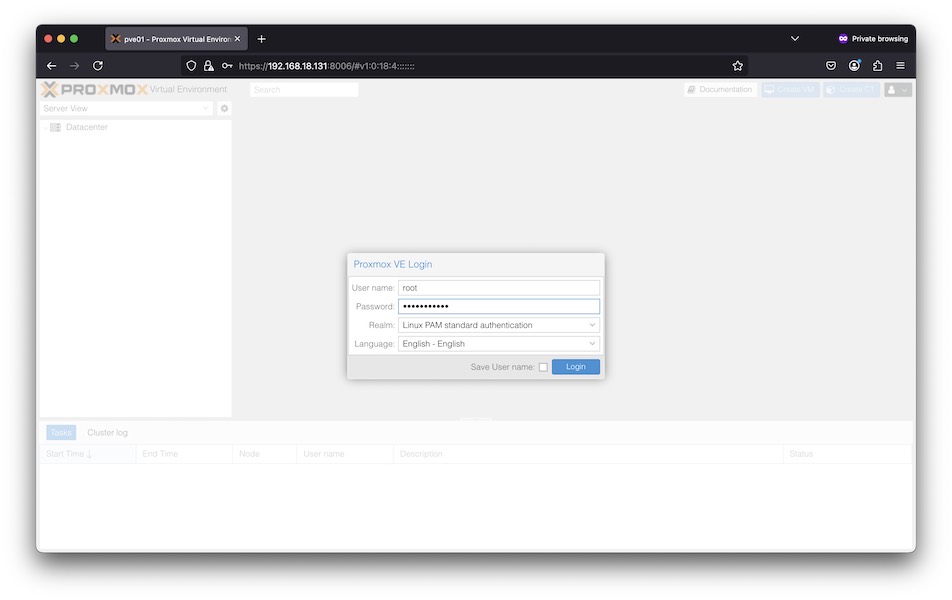
Once you have a node correctly installed, you can access it via web, as suggested by the console prompt shown before.
- You’ll get the login page, so please, log in:
- Once you log in for the first time, you’ll be warned about not having an enterprise license installed.

-
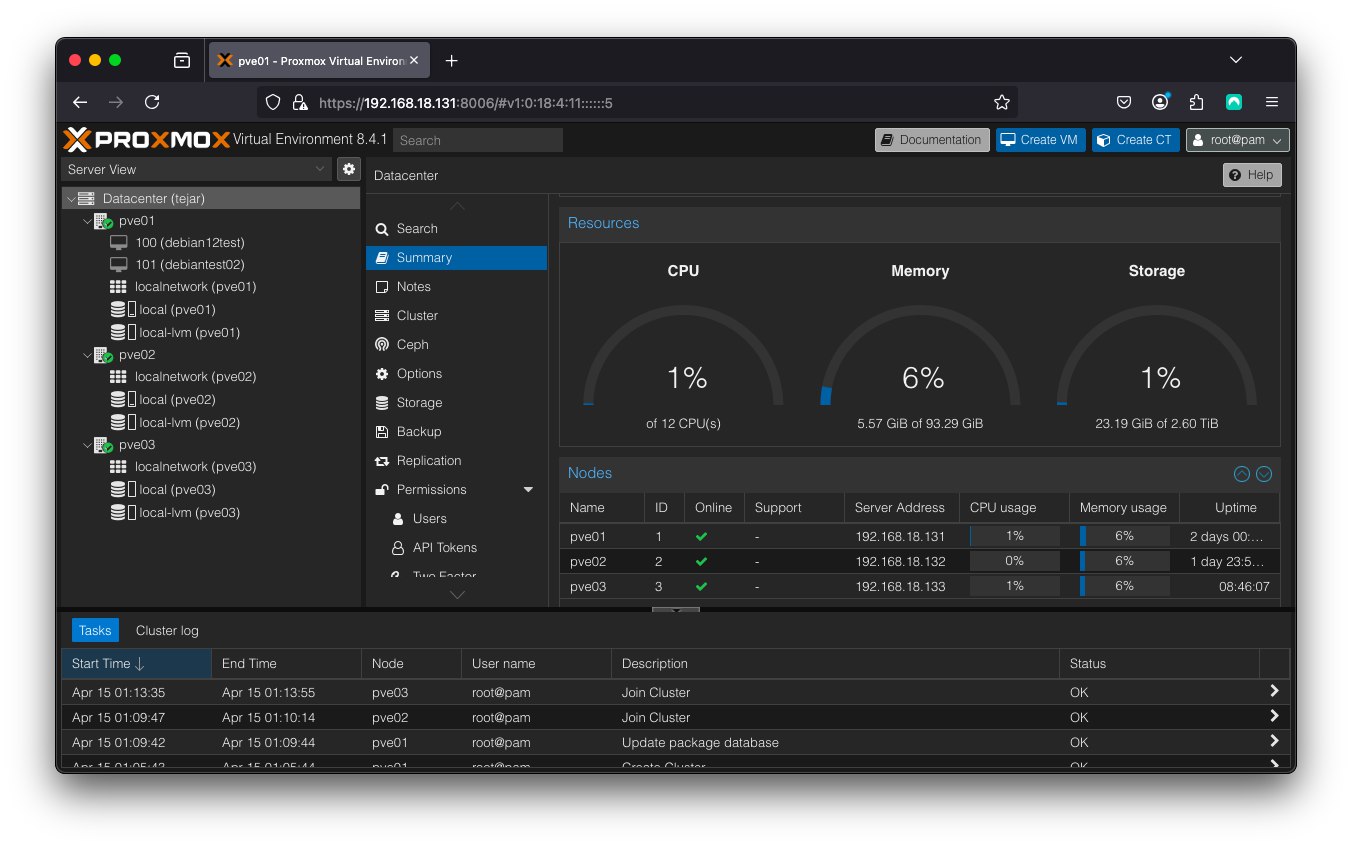
After dismissing the warning, you’ll get to the main admin view:
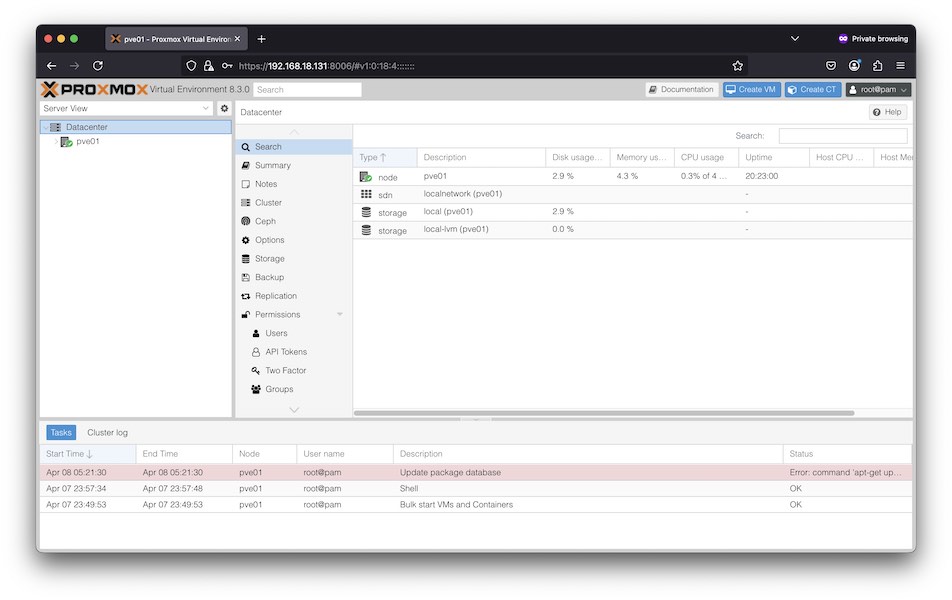
-
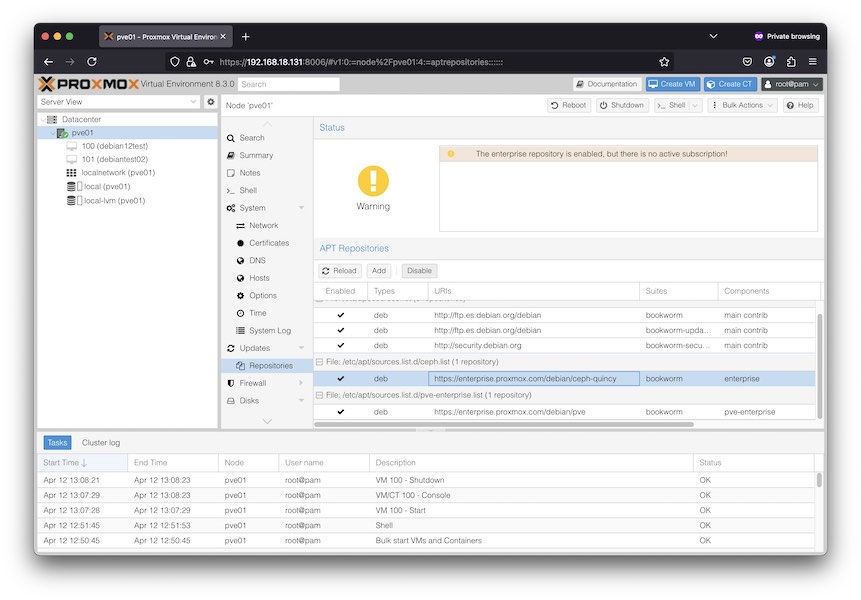
In order to add the free repositories, we’ll access
pve01(this node) -> Updates -> Repositories:
(and yes, we’ve already made some tests ![]() )
)
- Here, we’ll disable these two:
- Enterprise Proxmox
- Ceph Quincy Enterprise
- And we’ll add these two:
- Proxmox PVE no subscription
- Ceph Quincy no subscription
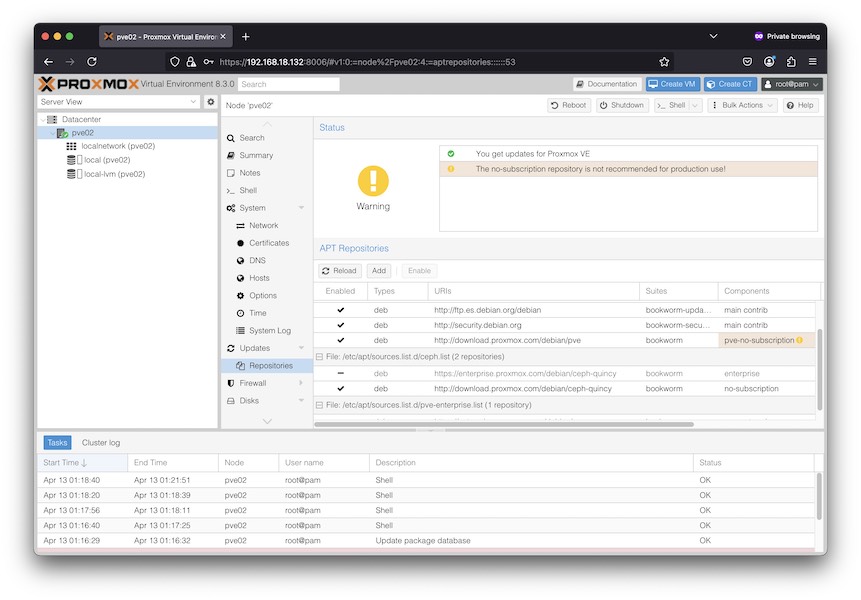
- You have now the following options on screen:
- Let’s configure network now in order to use the two 2.5 Gbit interfaces instead of one. We can do this through the web interface and apply changes once we agree to them. Here’s what we need to do:
- Click on
pve01node, then System -> Network. - Delete current bridge. Click on
vmbr0and then Remove - Click on Create -> Linux bond
- Now click on Create -> Linux bridge. Fill the dialog with this:
- Name:
vmbr0 - Bridge ports:
bond0. - IPv4/CIDR:
192.168.18.131/24. Same network address you used before, including network mask. - Gateway (IPv4):
192.168.18.1. Same gateway as in the previous configuration. - Click on Create button.
- Name:
- The changes are previewed and you can go through them before confirming:
- Click on
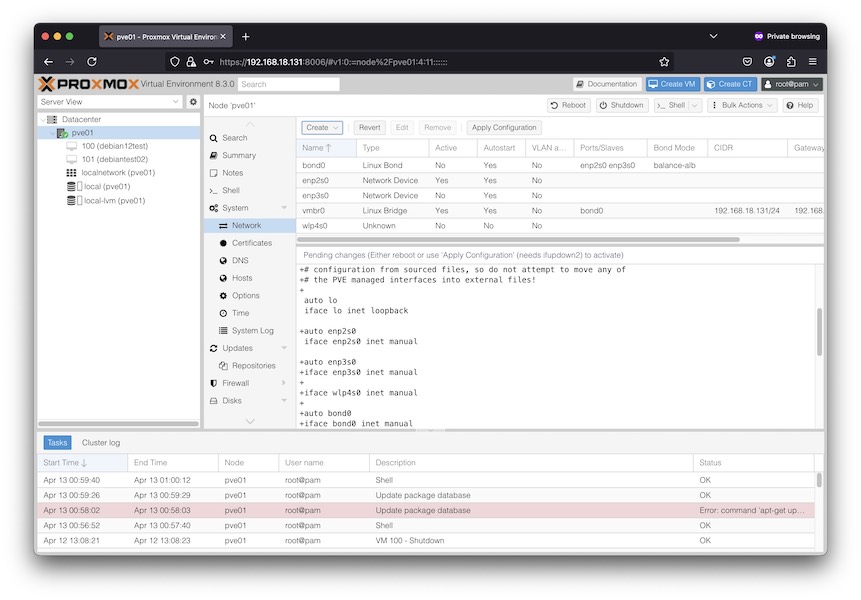
- If you agree, click on
Apply configuration.
Cluster creation
Once the three nodes are online and able to talk to each other through the network, we’ll double check the requirements for creating the Proxmox cluster.
Now, for a change, we’re going to create the cluster via command-line, following the steps detailed in the docs:
- Create the cluster.
From the first node, we create the cluster:
 root@pve01:~# pvecm create tejar
 Corosync Cluster Engine Authentication key generator.
 Gathering 2048 bits for key from /dev/urandom.
 Writing corosync key to /etc/corosync/authkey.
 Writing corosync config to /etc/pve/corosync.conf
 Restart corosync and cluster filesystem
We check the current status:
root@pve01:~# pvecm status Cluster information ------------------- Name: tejar Config Version: 1 Transport: knet Secure auth: on Quorum information ------------------ Date: Tue Apr 15 01:06:31 2025 Quorum provider: corosync_votequorum Nodes: 1 Node ID: 0x00000001 Ring ID: 1.5 Quorate: Yes Votequorum information ---------------------- Expected votes: 1 Highest expected: 1 Total votes: 1 Quorum: 1 Flags: Quorate Membership information ---------------------- Nodeid Votes Name 0x00000001 1 192.168.18.131 (local) - Add second (and subsequent) node(s):
Log in to the new node you want to join the cluster and do:
 root@pve02:~# pvecm add 192.168.18.131
 Please enter superuser (root) password for '192.168.18.131': ***********
 Establishing API connection with host '192.168.18.131'
 The authenticity of host '192.168.18.131' can't be established.
 X509 SHA256 key fingerprint is 80:EC:8B:A3:1F:B0:41:C6:F3:5C:E2:7A:47:6C:66:EE:12:DD:B9:EF:CE:0D:43:85:6A:70:A6:92:A7:DA:0F:27.
 Are you sure you want to continue connecting (yes/no)? yes
 Login succeeded.
 check cluster join API version
 No cluster network links passed explicitly, fallback to local node IP '192.168.18.132'
 Request addition of this node
 Join request OK, finishing setup locally
 stopping pve-cluster service
 backup old database to '/var/lib/pve-cluster/backup/config-1744672204.sql.gz'
 waiting for quorum...OK
 (re)generate node files
 generate new node certificate
 merge authorized SSH keys
 generated new node certificate, restart pveproxy and pvedaemon services
 successfully added node 'pve02' to cluster.
In the command above we’ve used the IP address of an existing cluster node.
-
Repeat the previous step with the third and subsequent nodes to join the cluster.
- Check cluster status:
 root@pve03:~# pvecm status
 Cluster information
 -------------------
 Name:             tejar
 Config Version:   3
 Transport:        knet
 Secure auth:      on

 Quorum information
 ------------------
 Date:             Tue Apr 15 01:14:00 2025
 Quorum provider:  corosync_votequorum
 Nodes:            3
 Node ID:          0x00000003
 Ring ID:          1.d
 Quorate:          Yes

 Votequorum information
 ----------------------
 Expected votes:   3
 Highest expected: 3
 Total votes:      3
 Quorum:           2
 Flags:            Quorate

 Membership information
 ----------------------
     Nodeid      Votes Name
 0x00000001          1 192.168.18.131
 0x00000002          1 192.168.18.132
 0x00000003          1 192.168.18.133 (local)
Wrap-up
We have a working Proxmox cluster with three nodes. In upcoming posts we’ll deal with Ceph shared storage configuration and other minor issues.